Connecting Your WhatsApp Business Account to HelloSend
Here’s how you can connect your WhatsApp Business Account to HelloSend to manage customer communications effortlessly.
Step 1: Start the Setup in HelloSend
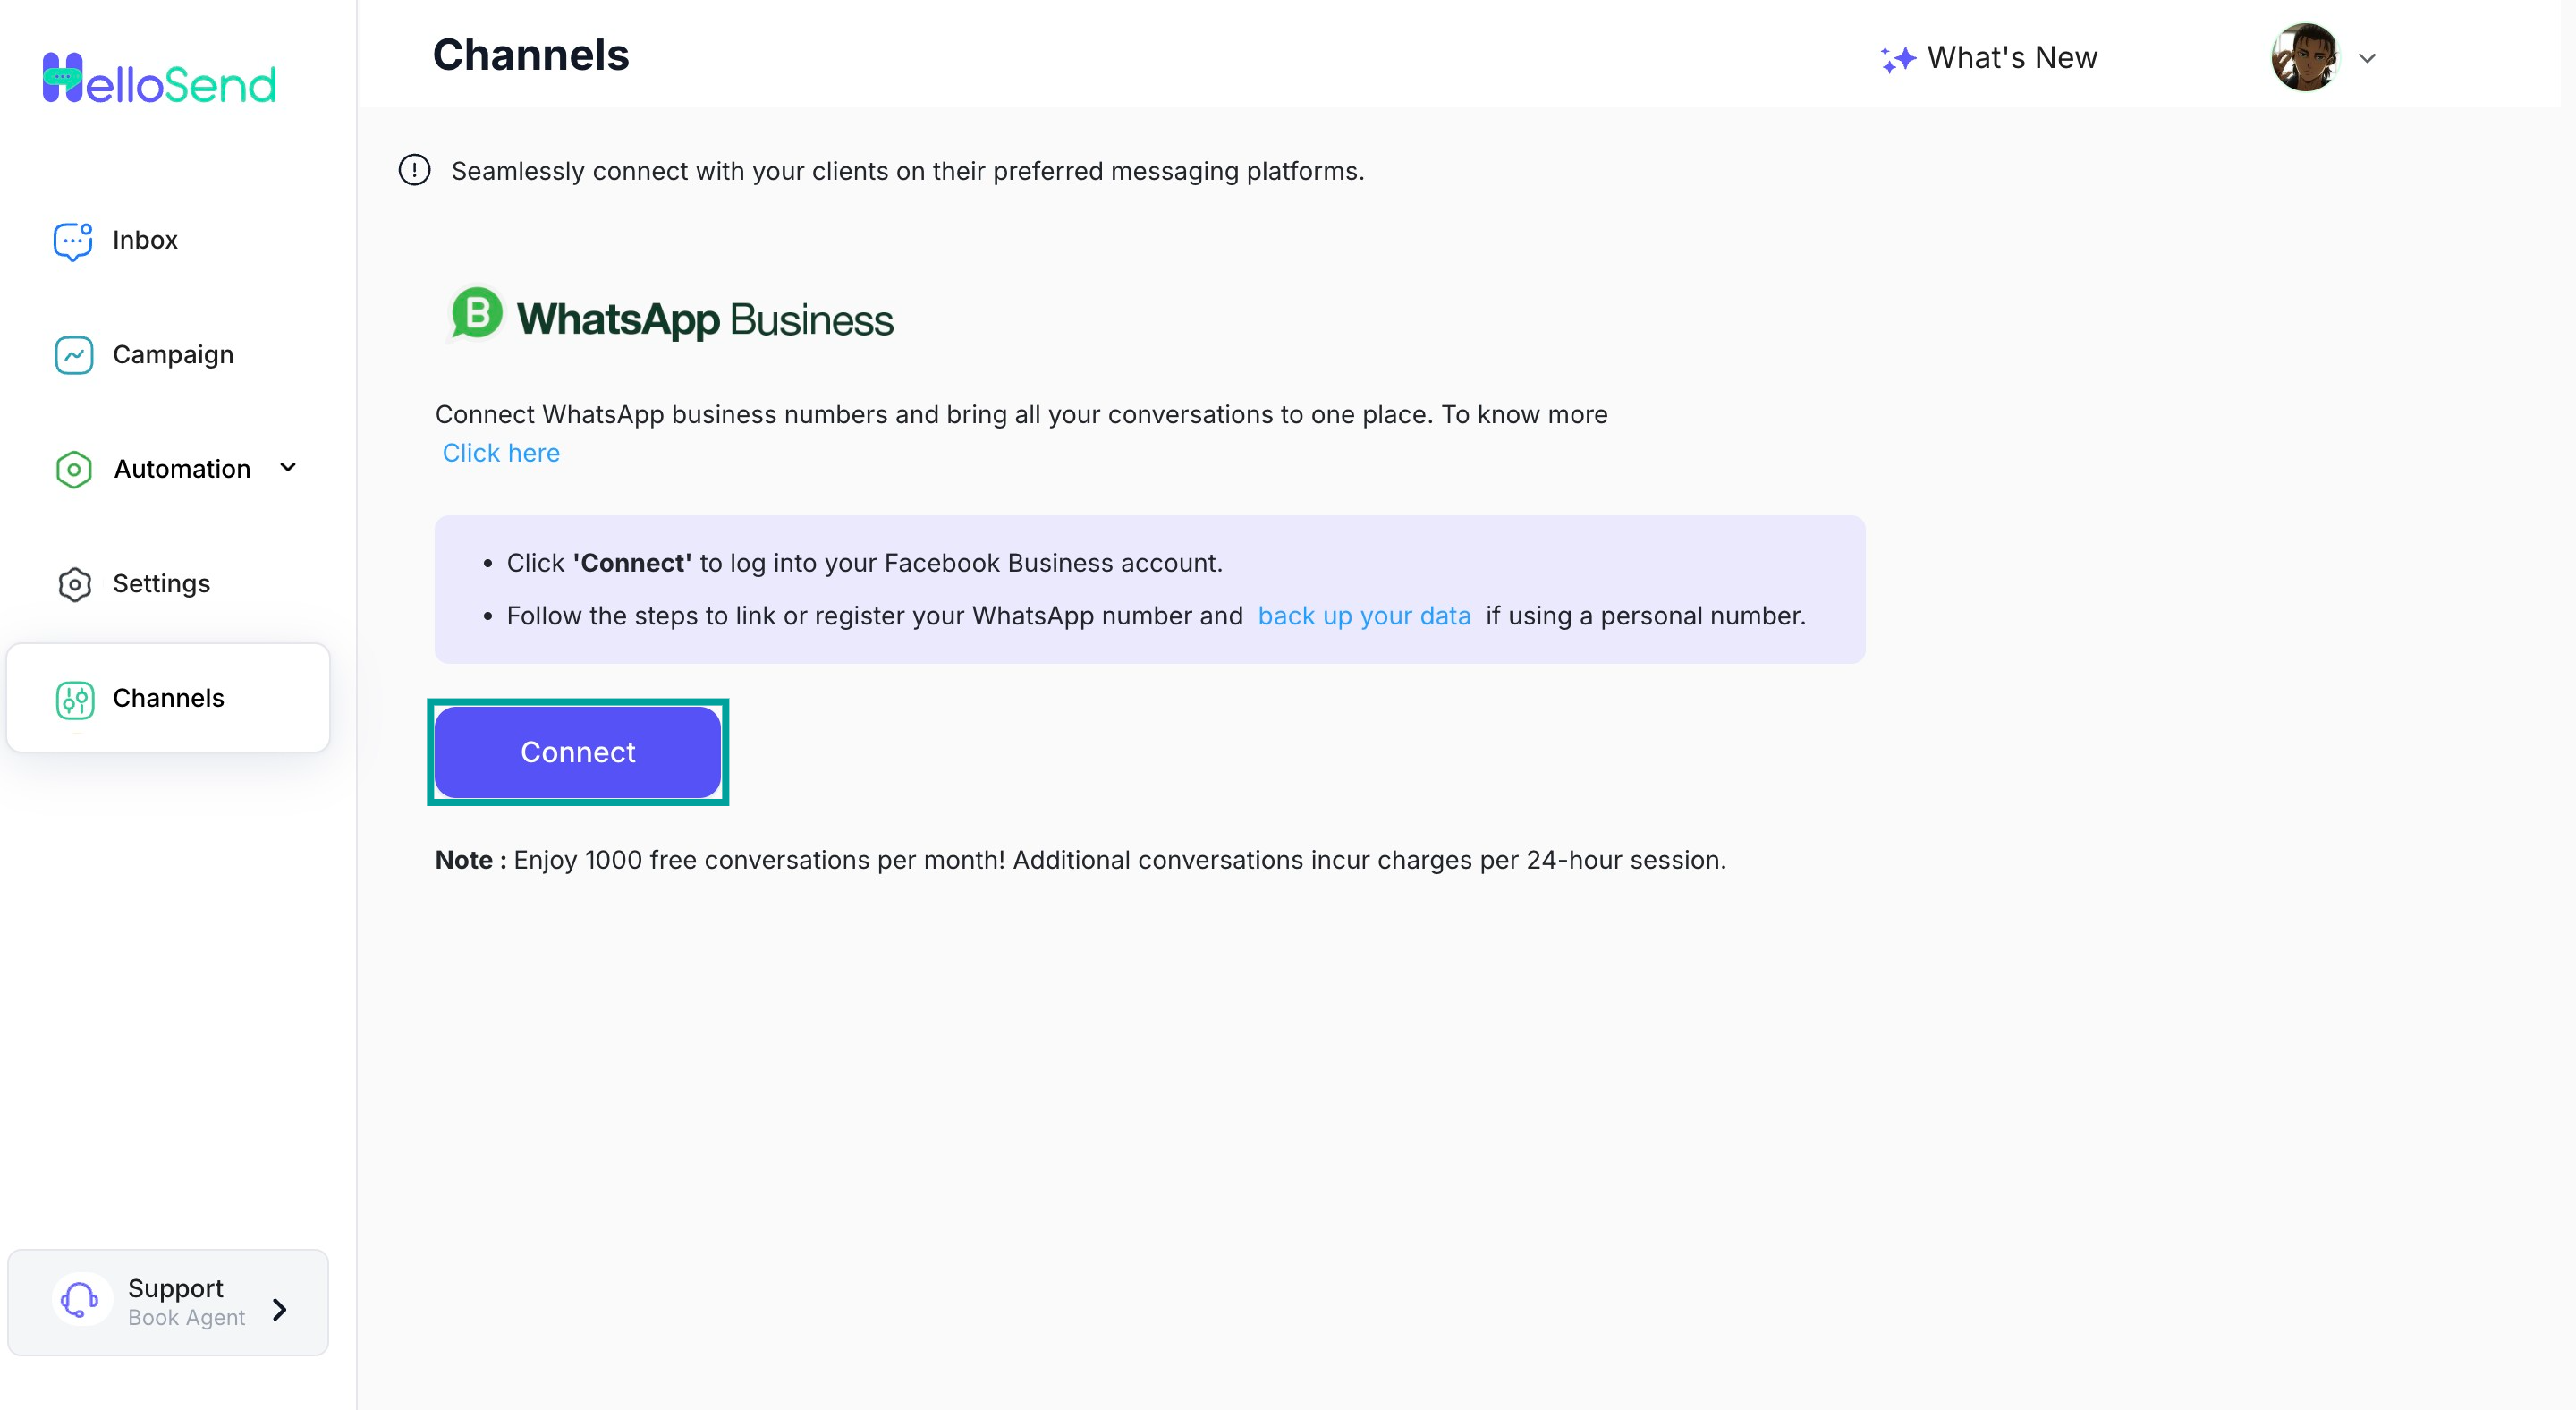
Go to Channels > WhatsApp
Click Connect to begin the integration.
Step 2: Connect to Facebook
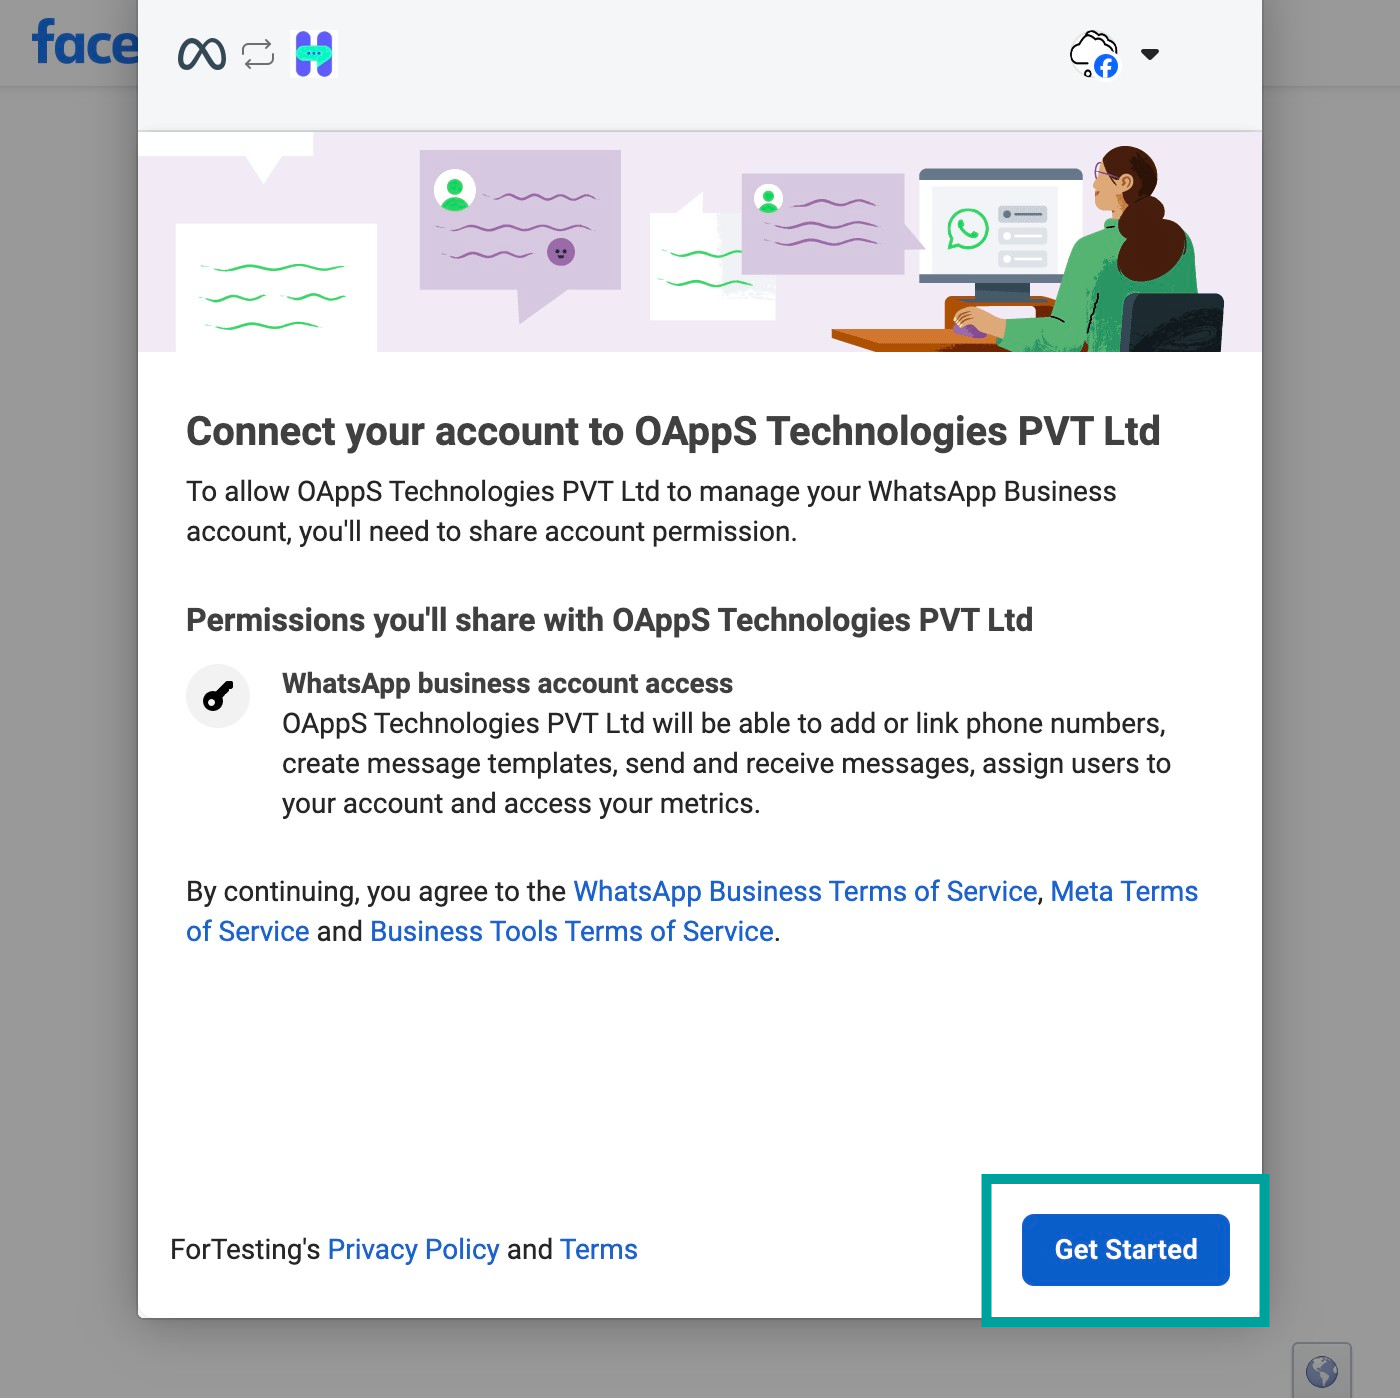
You’ll be redirected to Facebook.
If already logged in, you can continue with your Facebook account or log in with a different account.
Click Get Started to allow HelloSend access to manage your WhatsApp account through Facebook.
Step 3: Enter Business Information
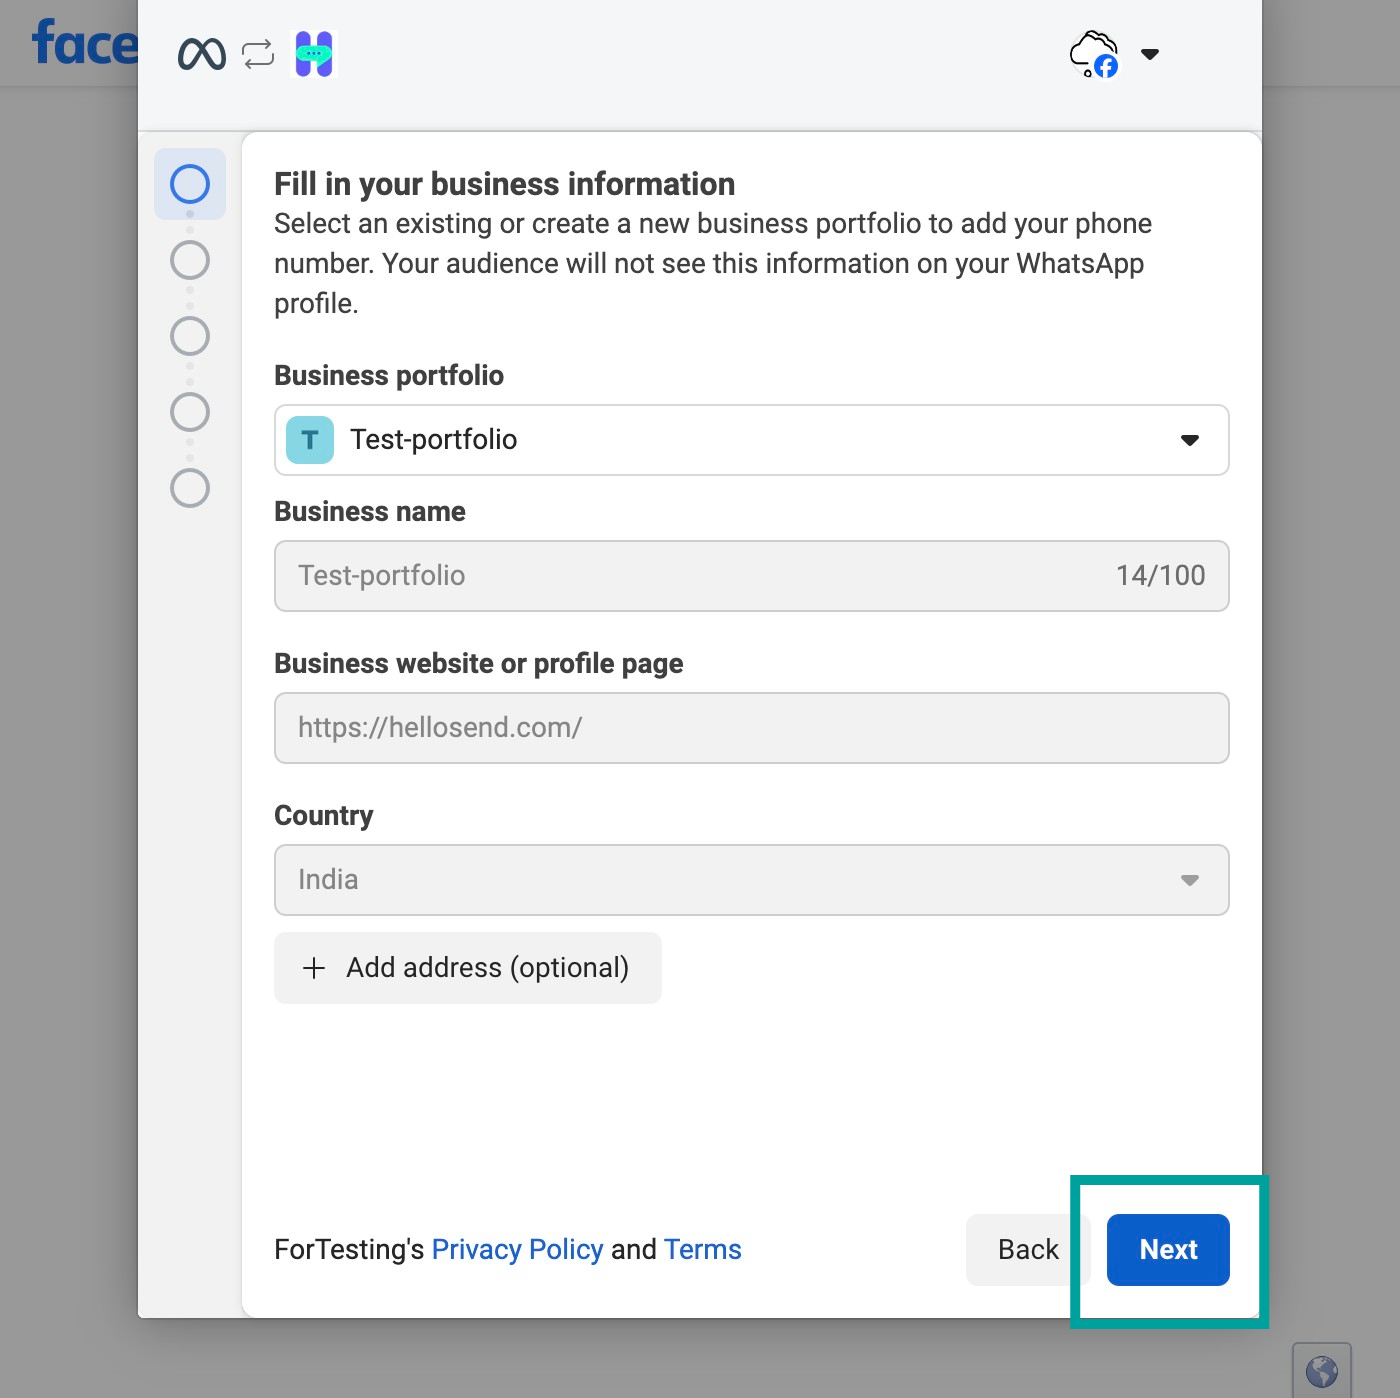
Fill in your business details, including:
Business Name
Business Email Address
Business Website
Click Next to continue.
Note: If you have a Facebook Business Manager Account, you can proceed with it.
Step 4: Choose or Create a WhatsApp Business Account
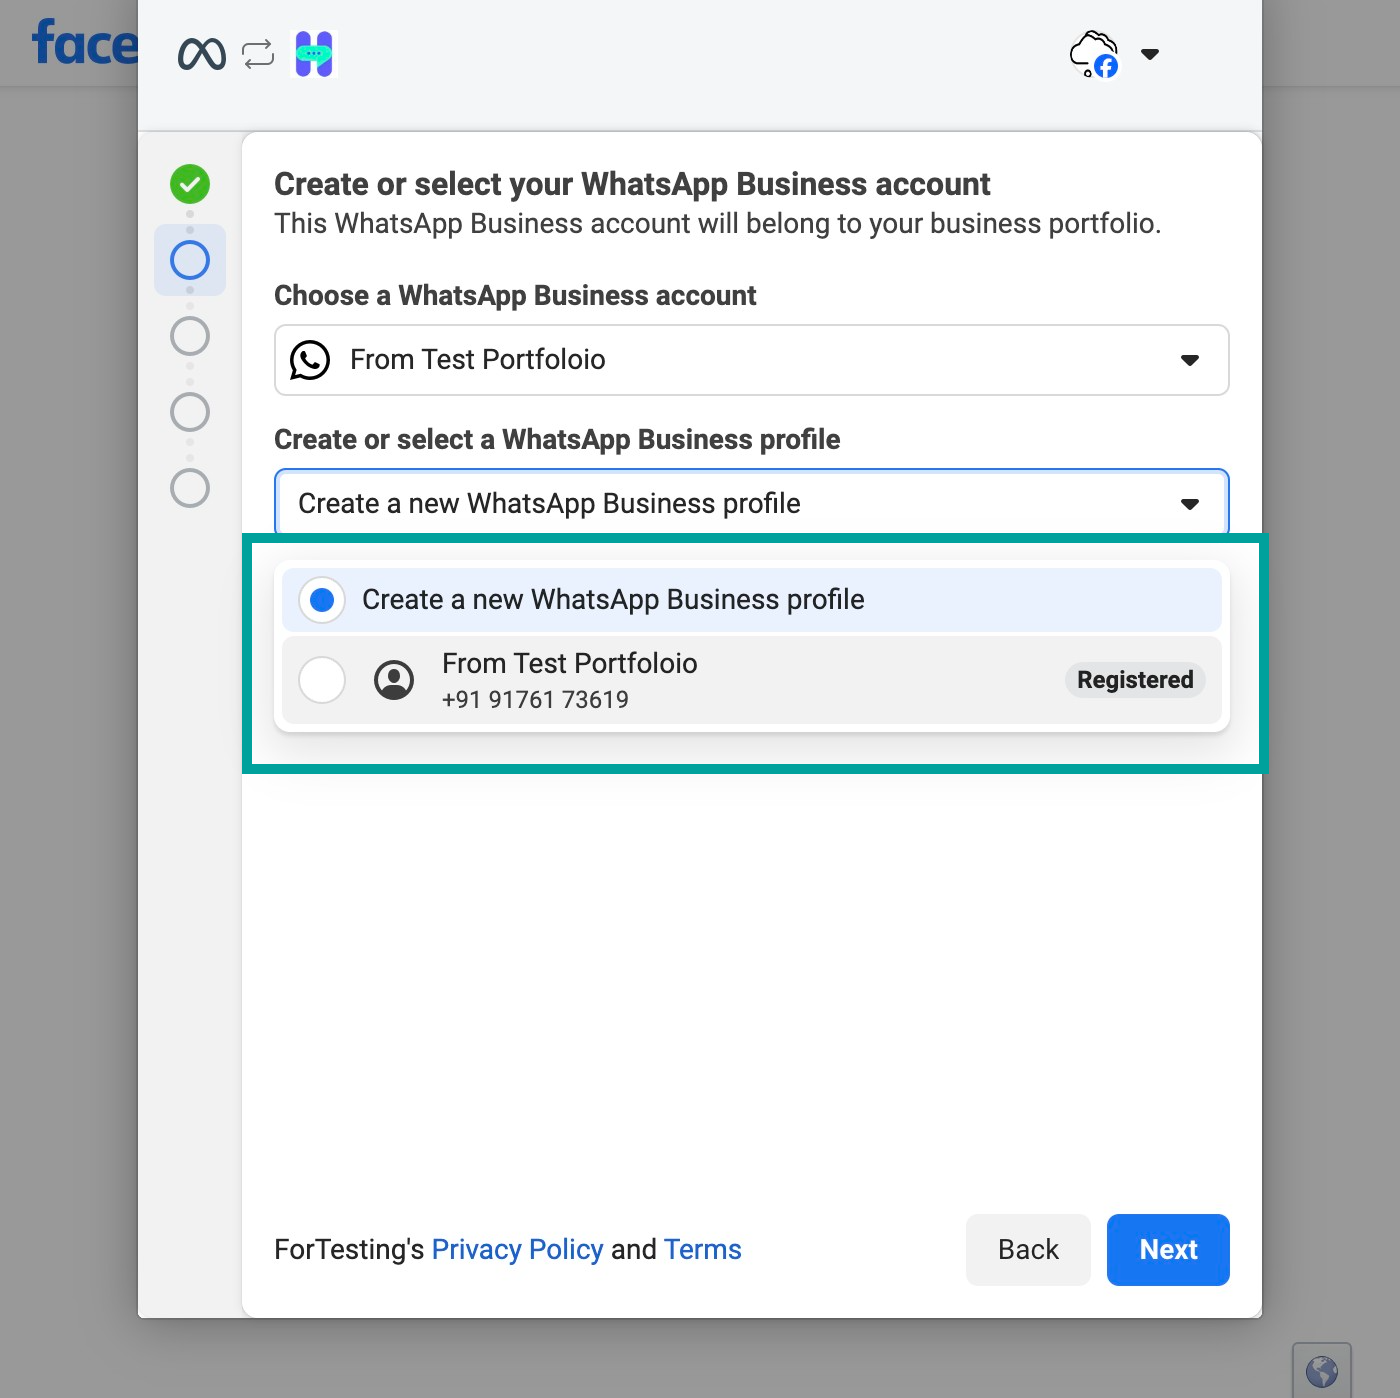
Select an existing WhatsApp Business Account or create a new one.
Create or select a business profile, and click Next.
Step 5: Set Up Your WhatsApp Business Profile
If creating a new profile, enter:
WhatsApp Business Account Name
Display Name
Business Category
Click Next.
Step 6: Verify Your Phone Number
Enter the phone number you want to use for WhatsApp Business.
Choose a verification method:
Text Message or Phone Call.
Enter the verification code received and click Next.
Note: If using an existing number, ensure it is removed from any current WhatsApp account first. See Migrating an Existing WhatsApp Number for details.
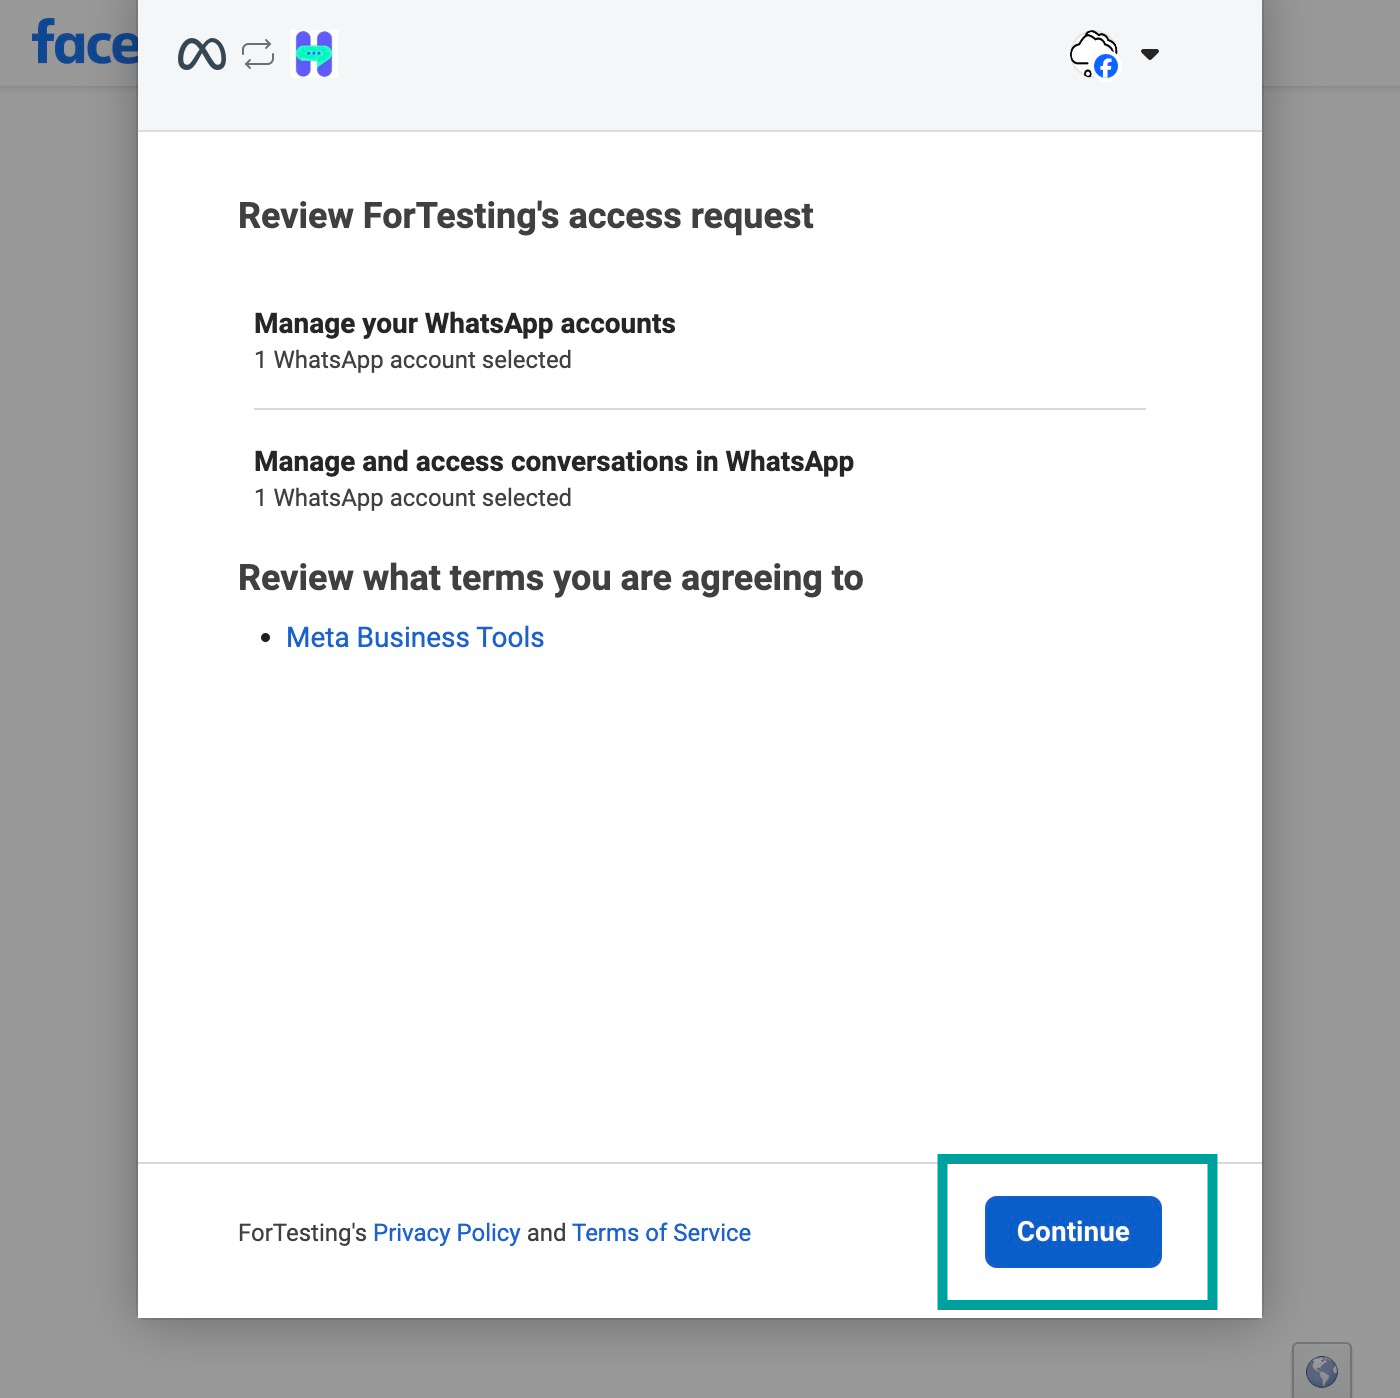
Step 7: Review Permissions and Complete Setup
Review the required permissions and click Continue.
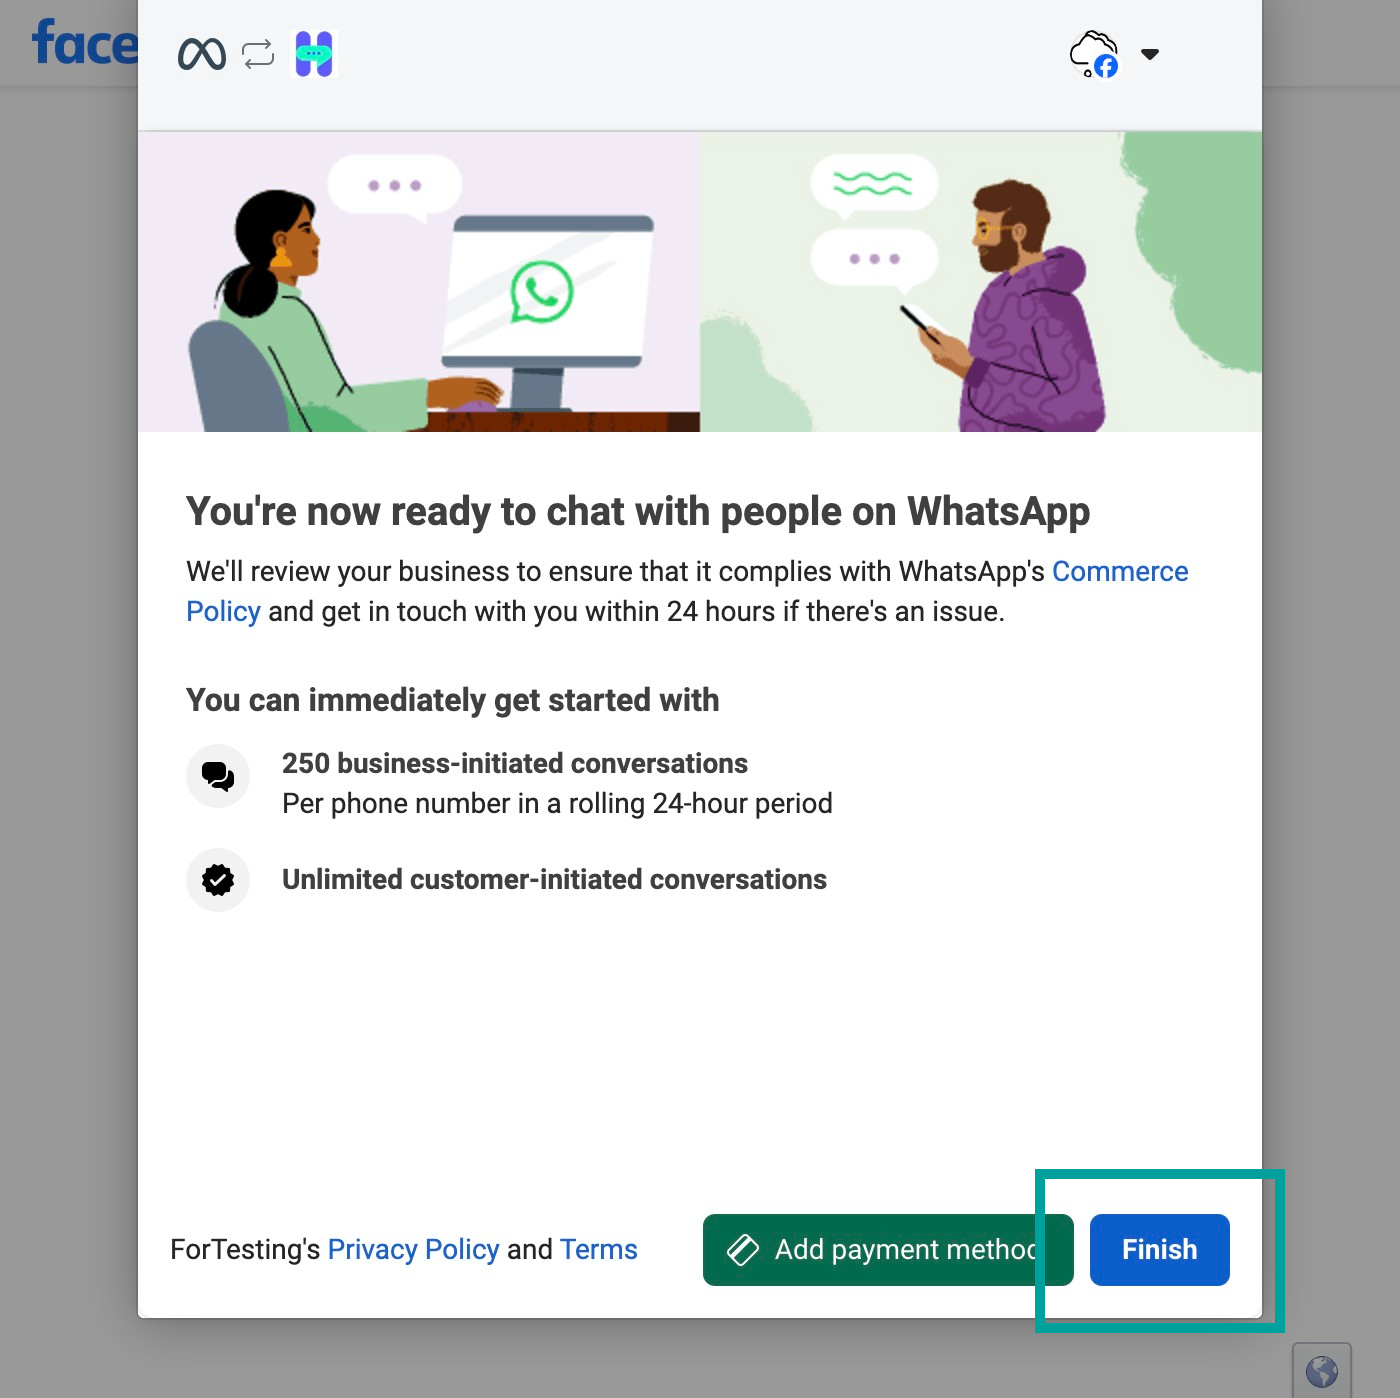
Finalize the setup. Meta will review your business, but you can start using the number immediately for business conversations.
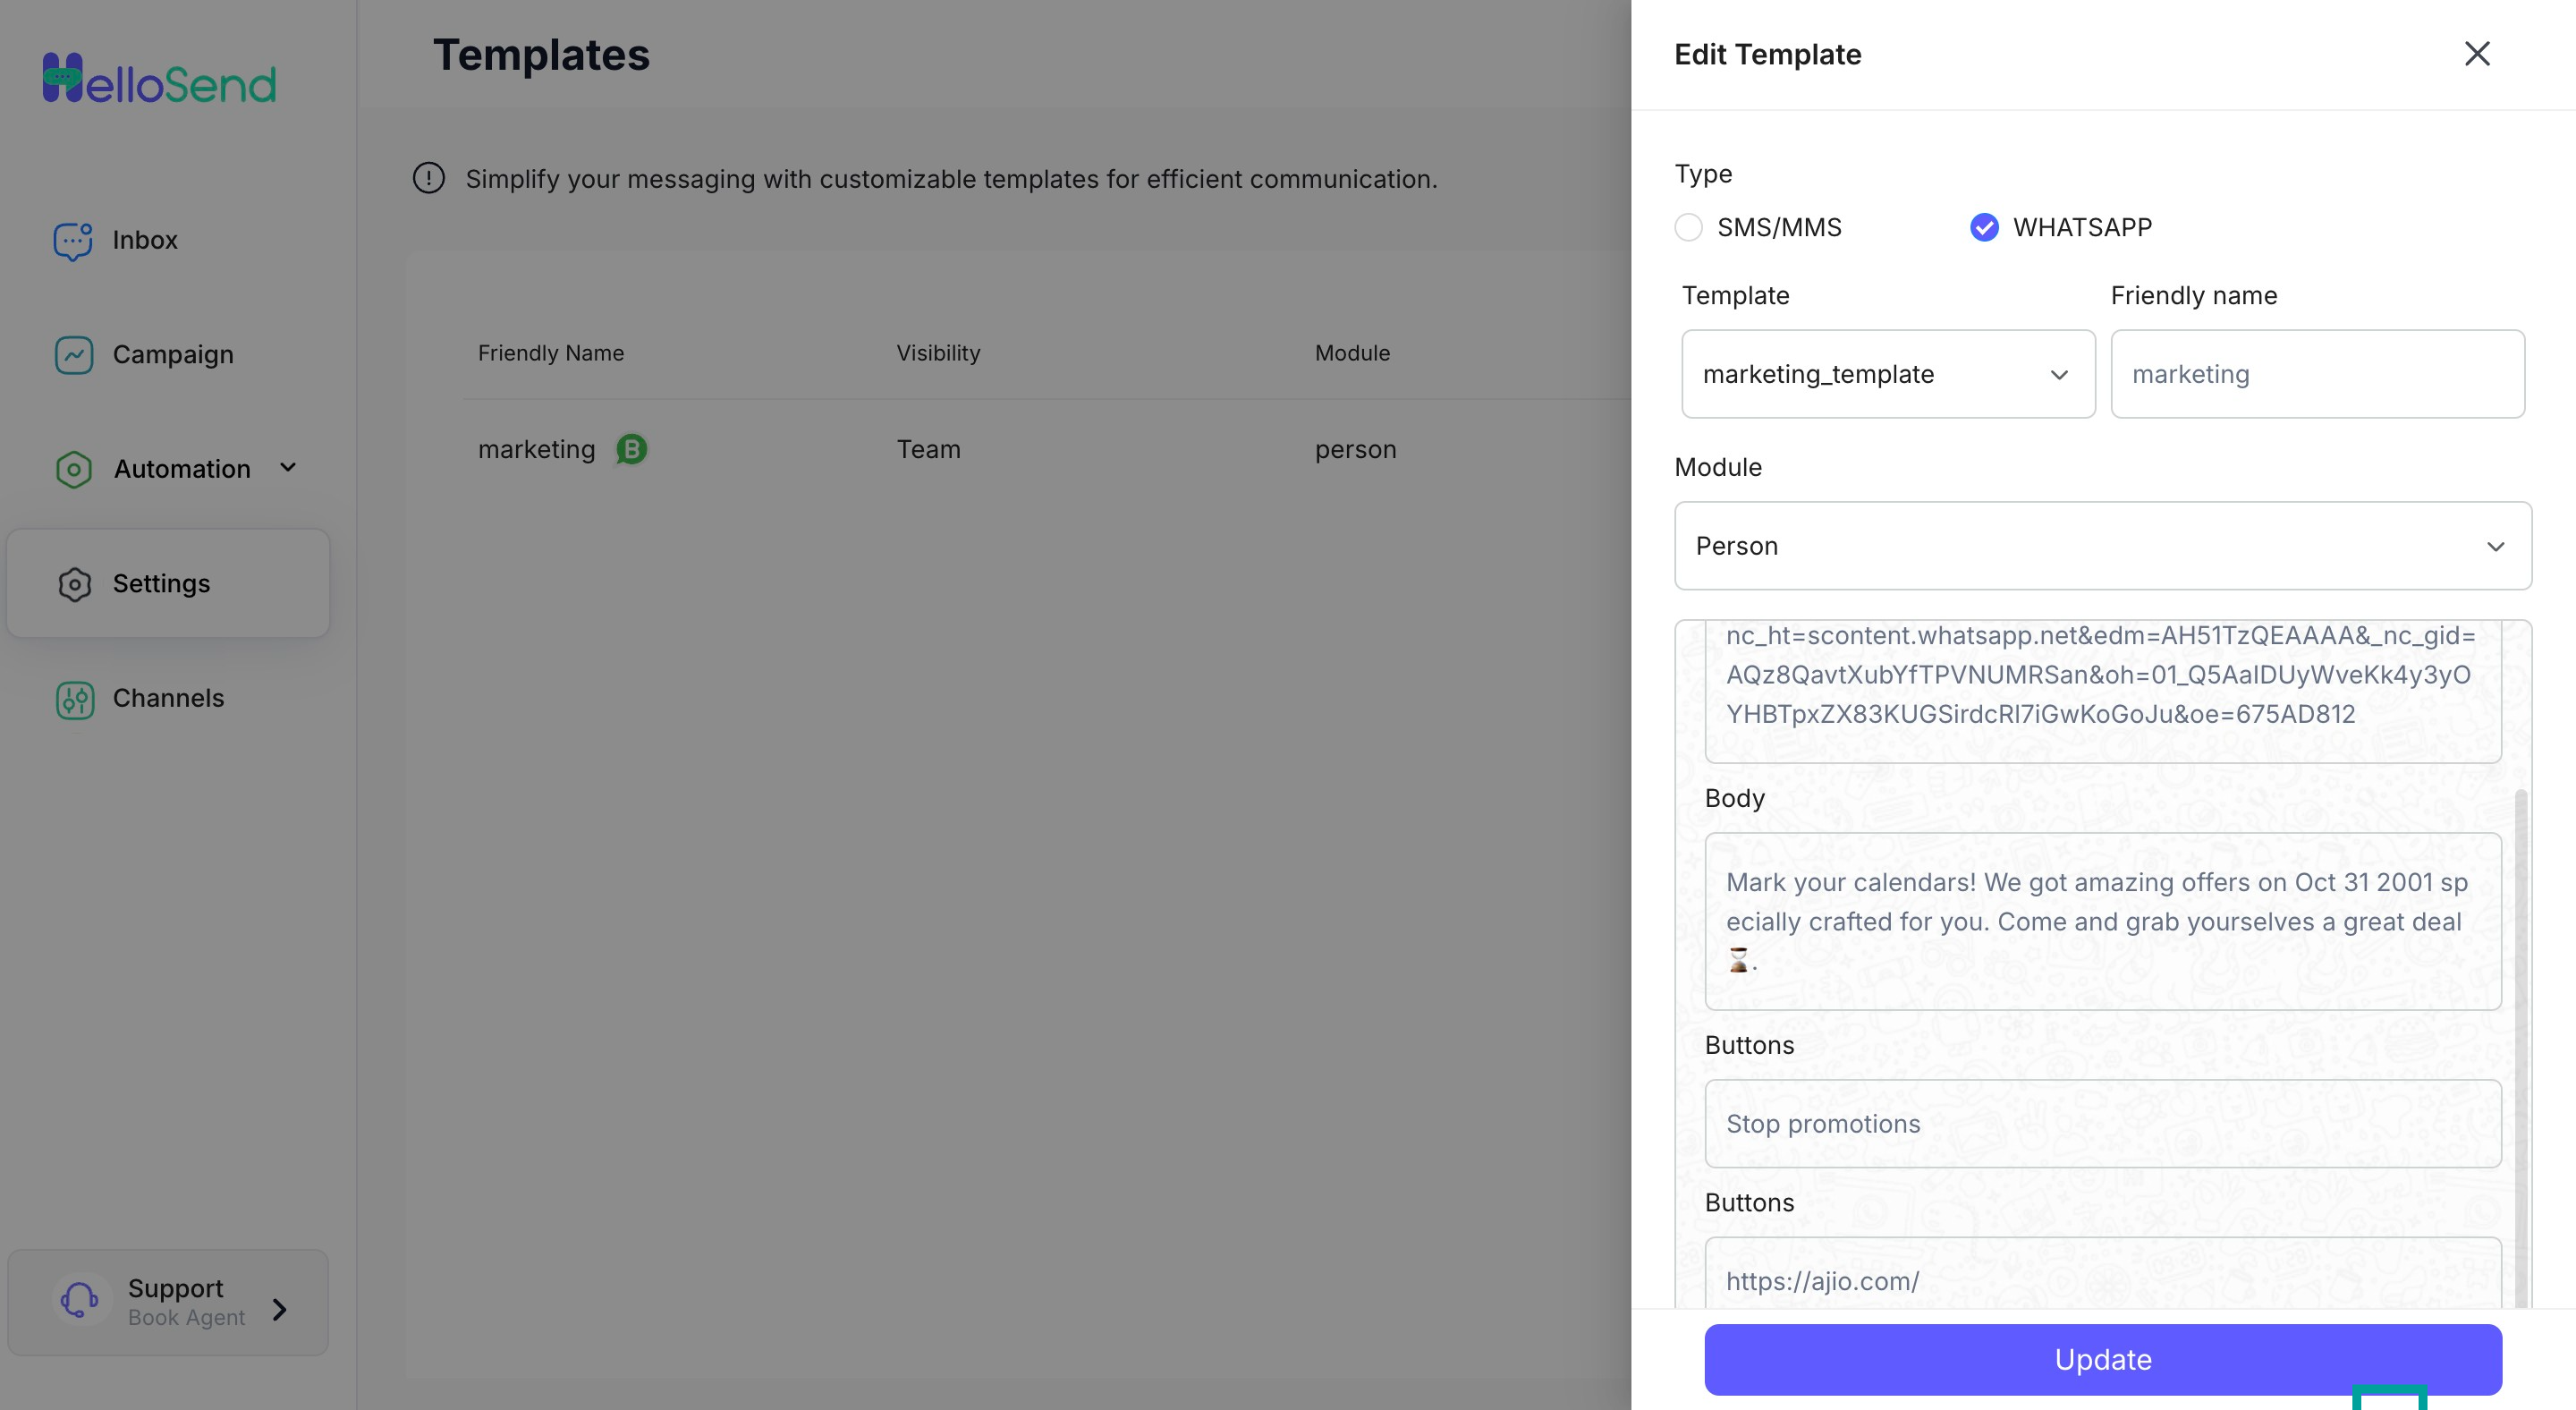
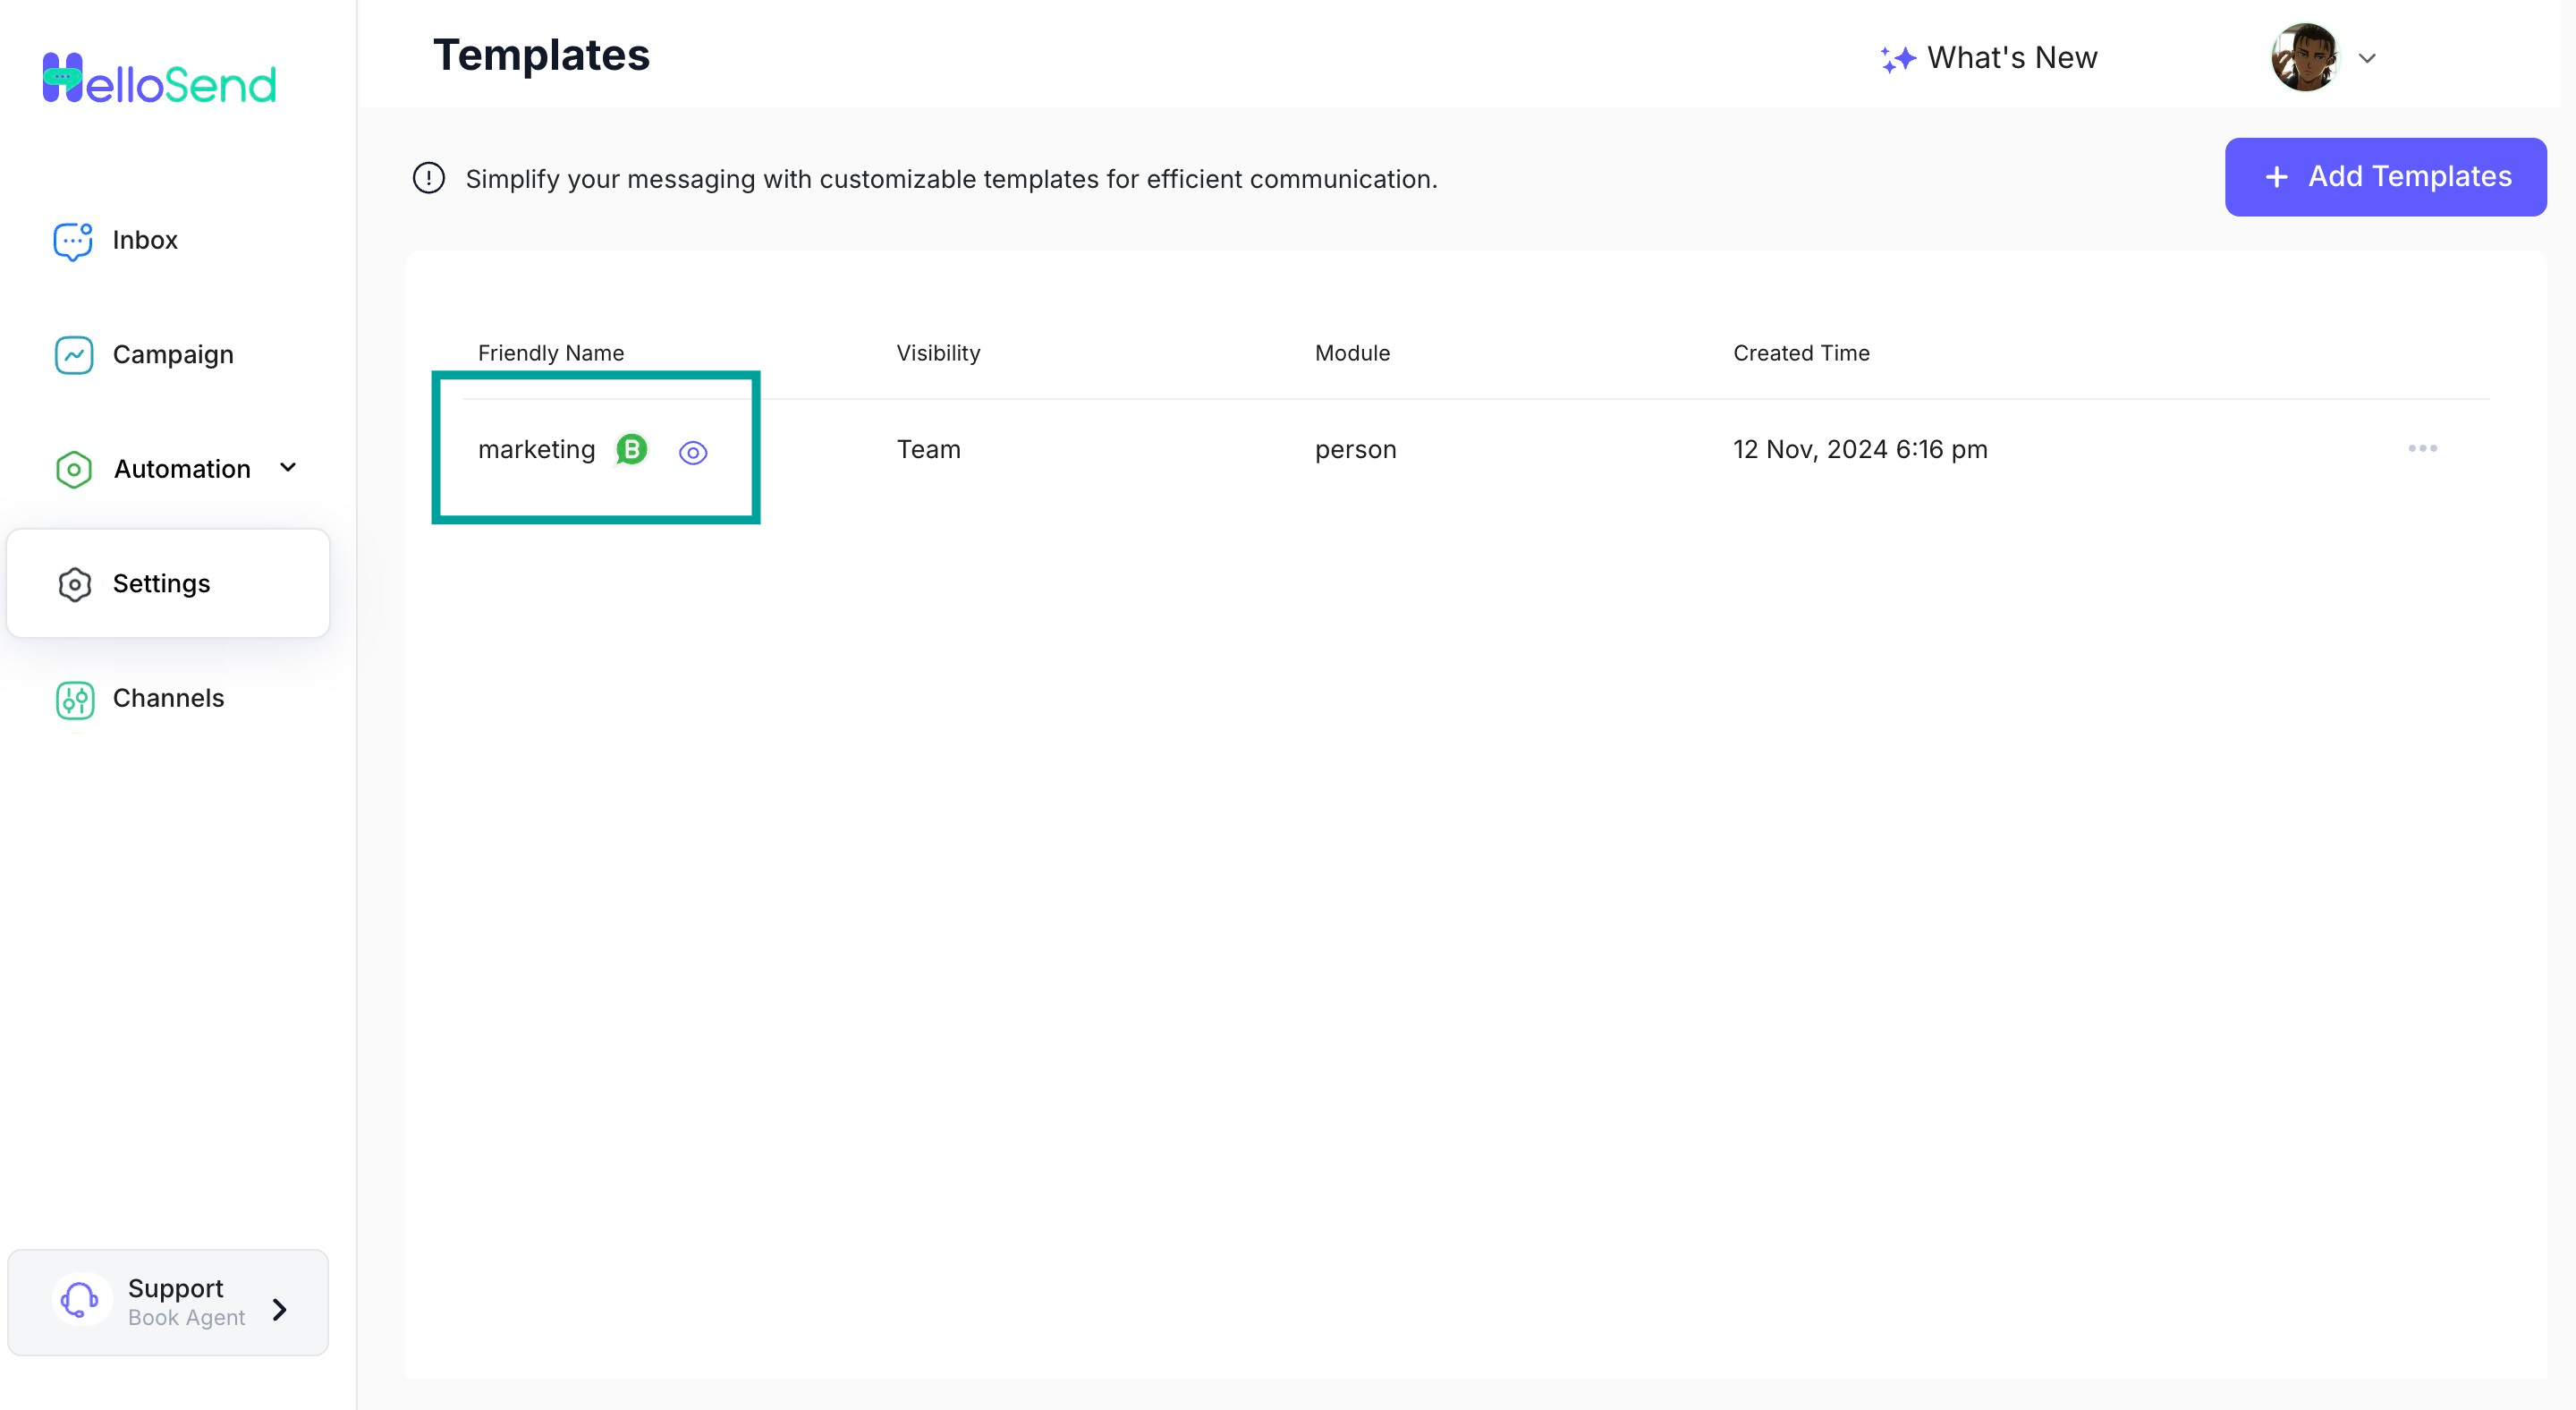
Step 8: WhatsApp Templates
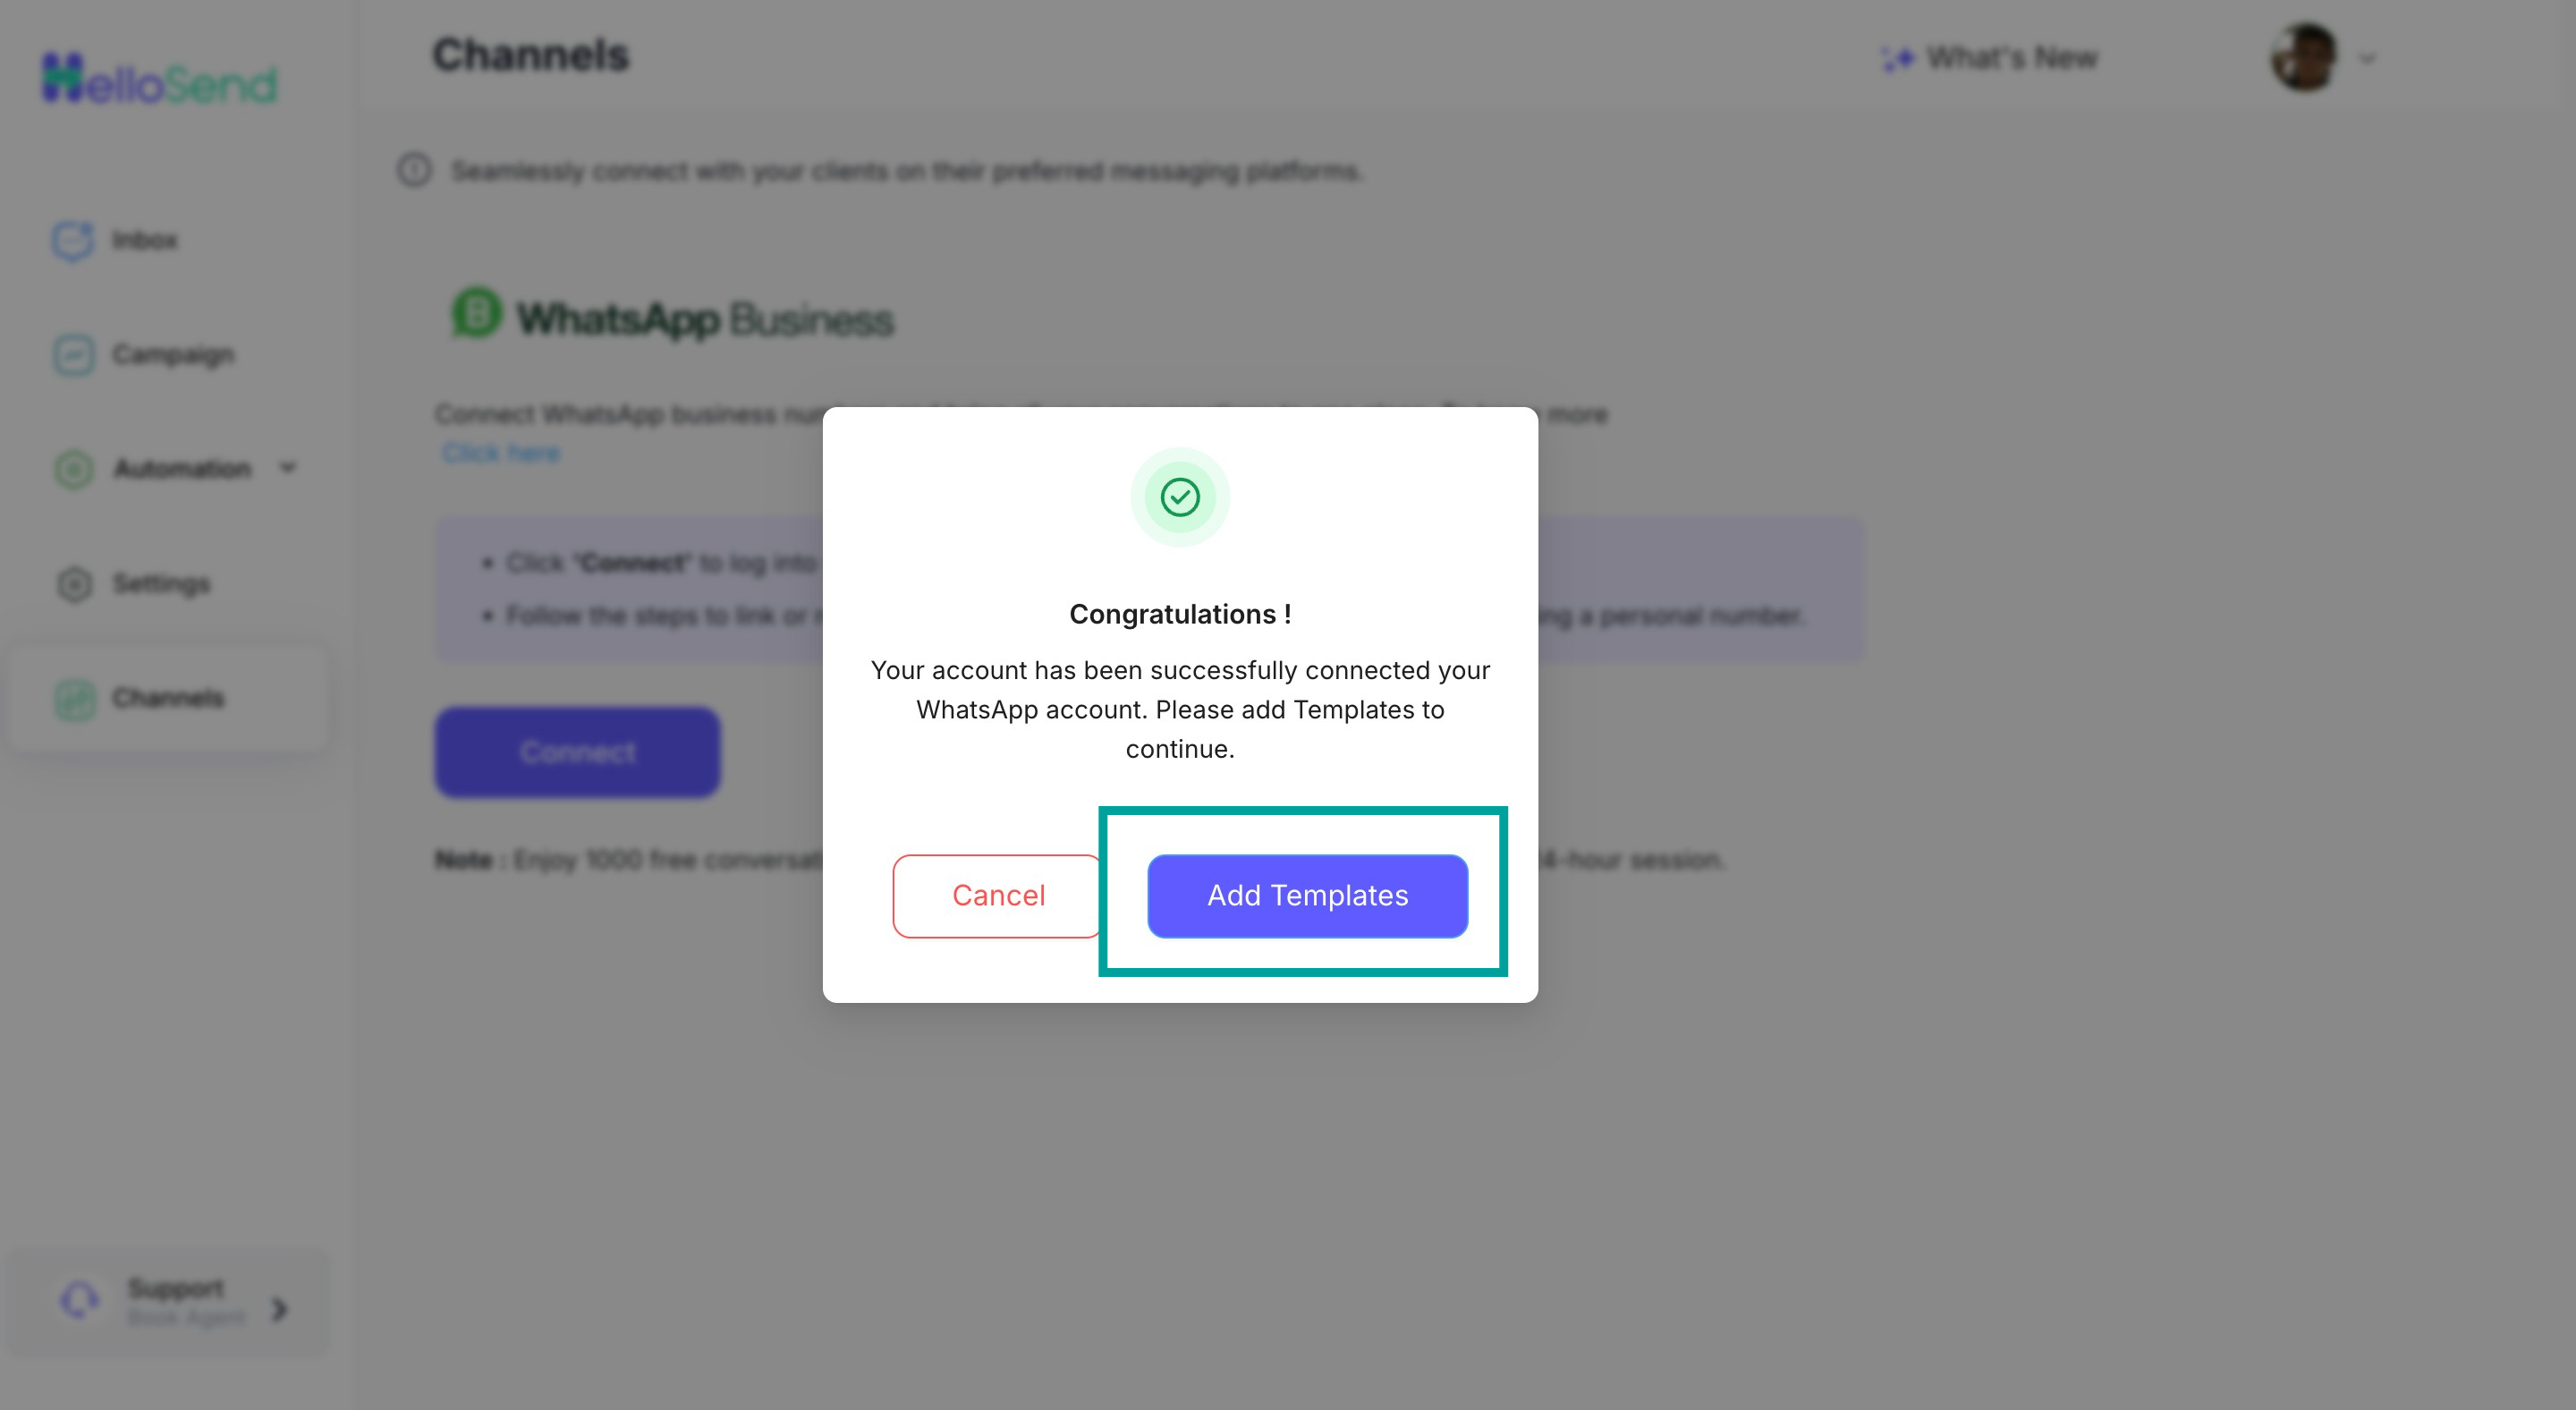
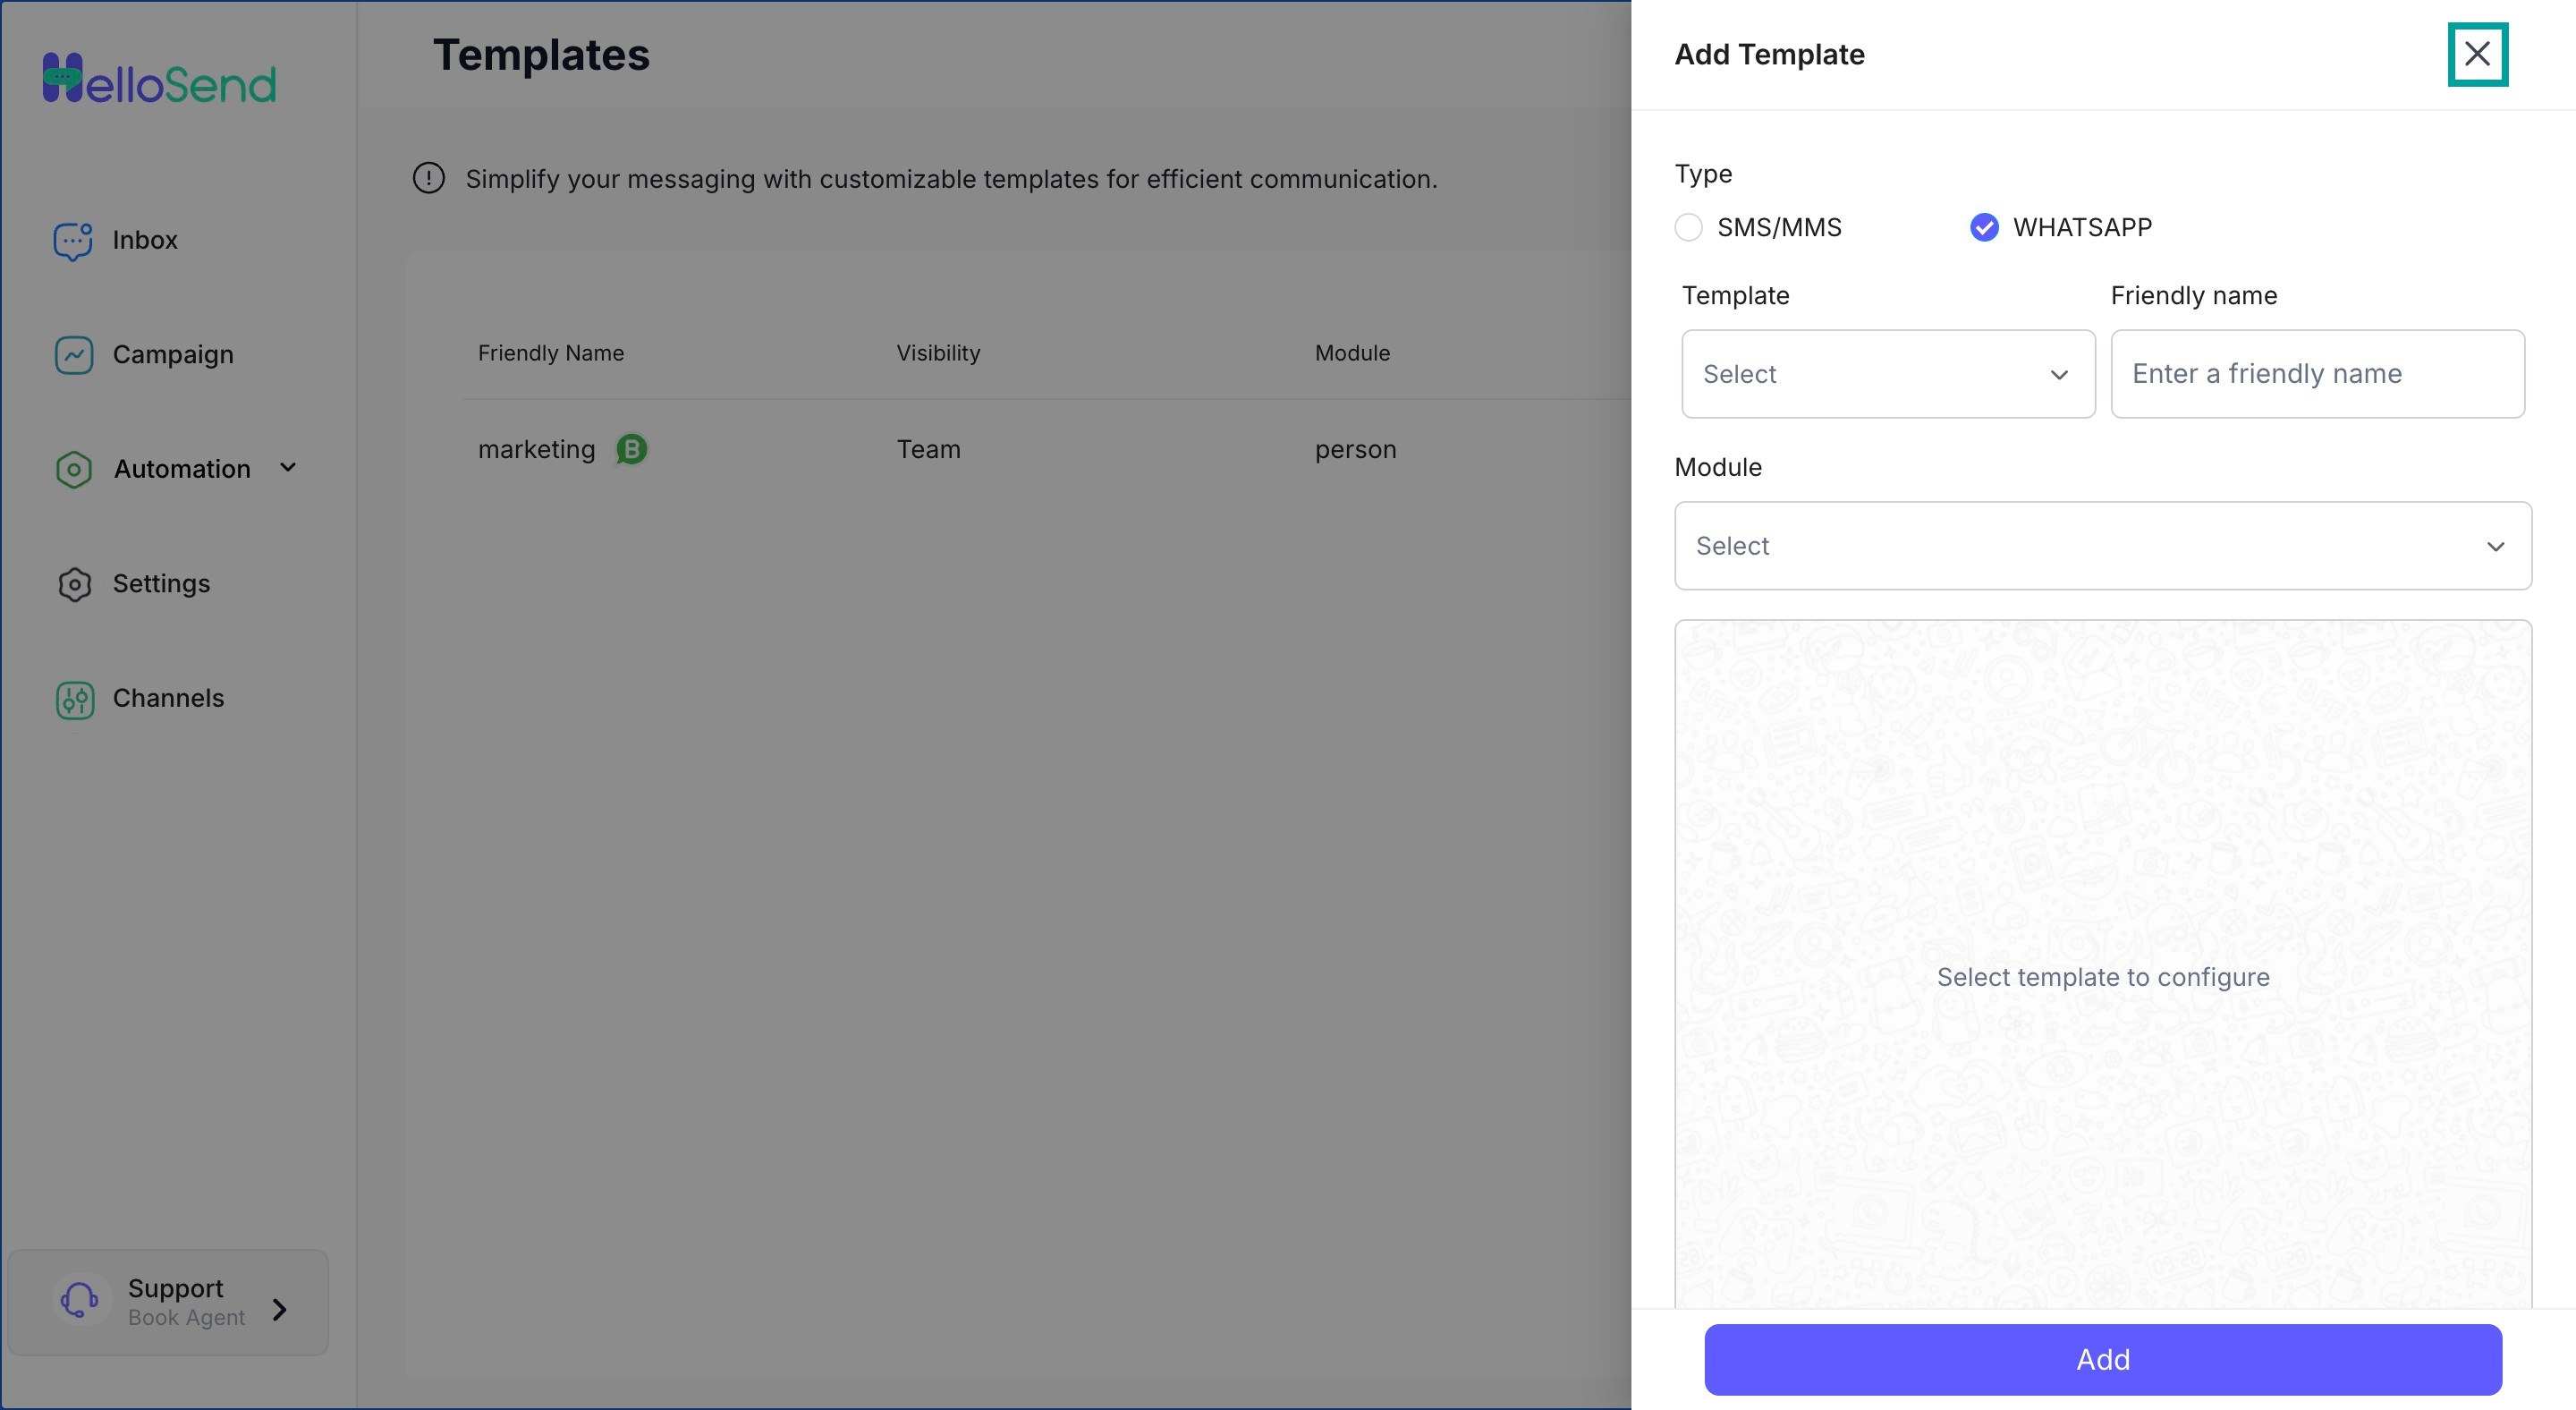
- Once the WhatsApp number is successfully connected, click on "Add Templates" to import the WhatsApp template into HelloSend.
Related Articles
SMS & WhatsApp Messaging for Pipedrive
Activate Twilio/ RingCentral / WhatsApp Messaging in Pipedrive to send 1-on-1, campaign, or automated messages, and track all communication history within Pipedrive. Essential SMS/WhatsApp Features for Pipedrive Outbound & Inbound: All inbound and ...HelloSend SMS/ Call/ WhatsApp for CRM
The HelloSend Call Module brings advanced calling features to Zoho CRM, Pipedrive and Zoho Desk, helping businesses streamline communication and enhance productivity. Key highlights include: Team Management: Easily organize your team, assign roles, ...Acquiring and Registering Your HelloSend Number
Acquiring and Registering Your HelloSend Number Introduction Objective: Acquire a dedicated HelloSend number for your business and complete the essential 10DLC registration. Prerequisites: Ensure you have the necessary funds to purchase a messaging ...HelloSend supported Text SMS services
To send and receive SMS, you require an SMS service provider to communicate with the HelloSend server. HelloSend supports almost all top SMS service providers such as Twilio, RingCentral, ClickSend, BurstSMS, Telnyx, Plivo, and Vonage for Text SMS. ...Automate SMS/WhatsApp message in Zoho CRM
Configure automated processes in Zoho CRM to streamline workflow tasks and enhance efficiency. To create a workflow in Zoho CRM, follow these steps: 1. Create a template that will be triggered when conditions are met. 2. Configure workflow rules ...